| 维爱迪-动画创作家园 >> 动画资源 >> 绘画教程 >> Photoshop制作HTC Diamond手机 |
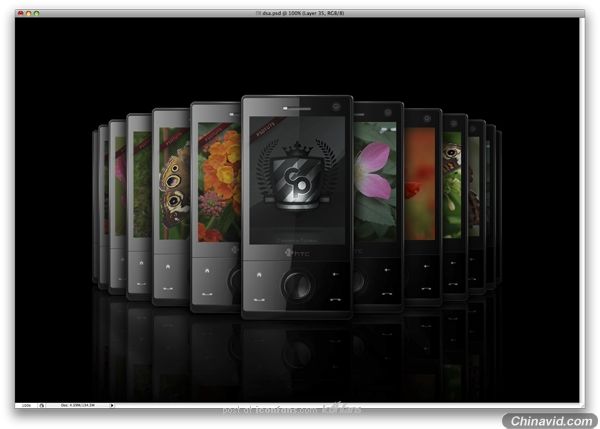
Step 35
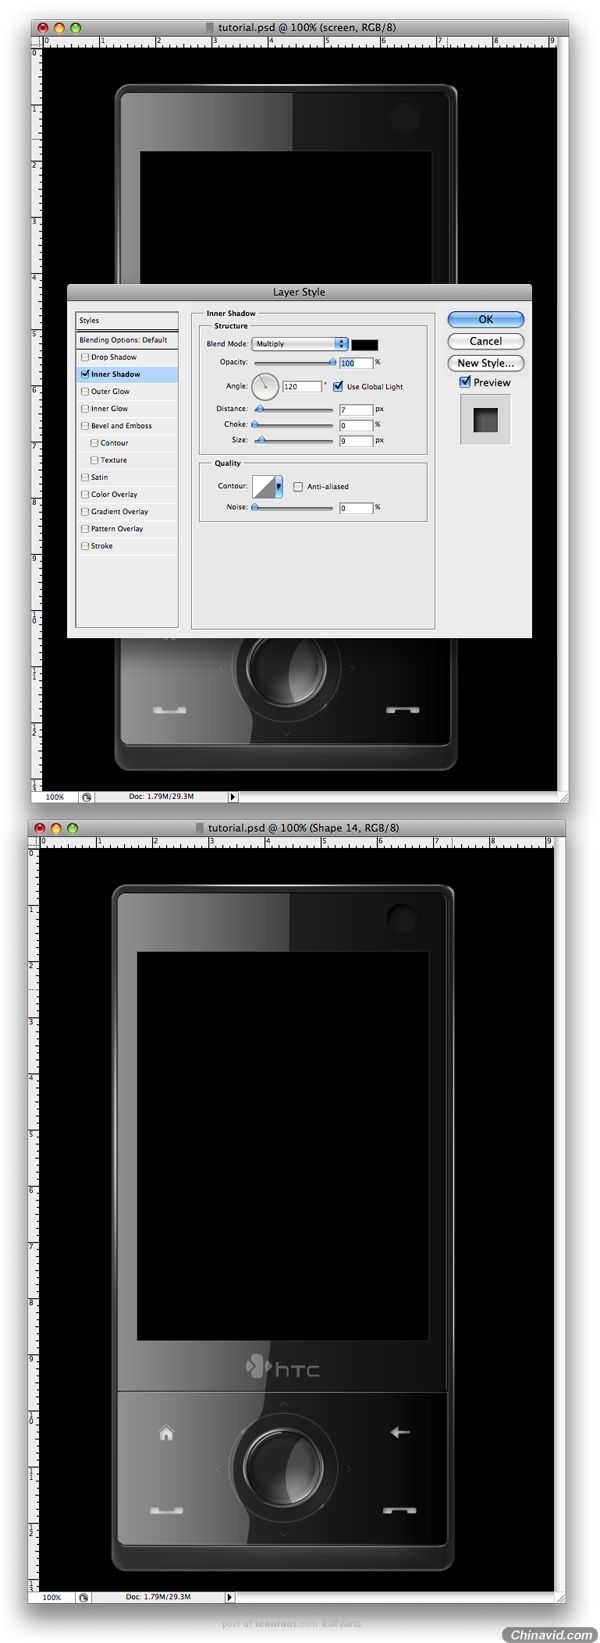
Now make a new folder and name it "screen." In this folder, make a new shape using the Rectangle Tool (U). Also, use the settings below for the Blending Options.
现在创建一个图层夹命名为"Screen", 在这个夹里用矩形工具(U)创建一个新形状(我想应该在夹里先新建一层吧, 汗,他没写). 使用如下的混合设置来设置该图层.
Step 36
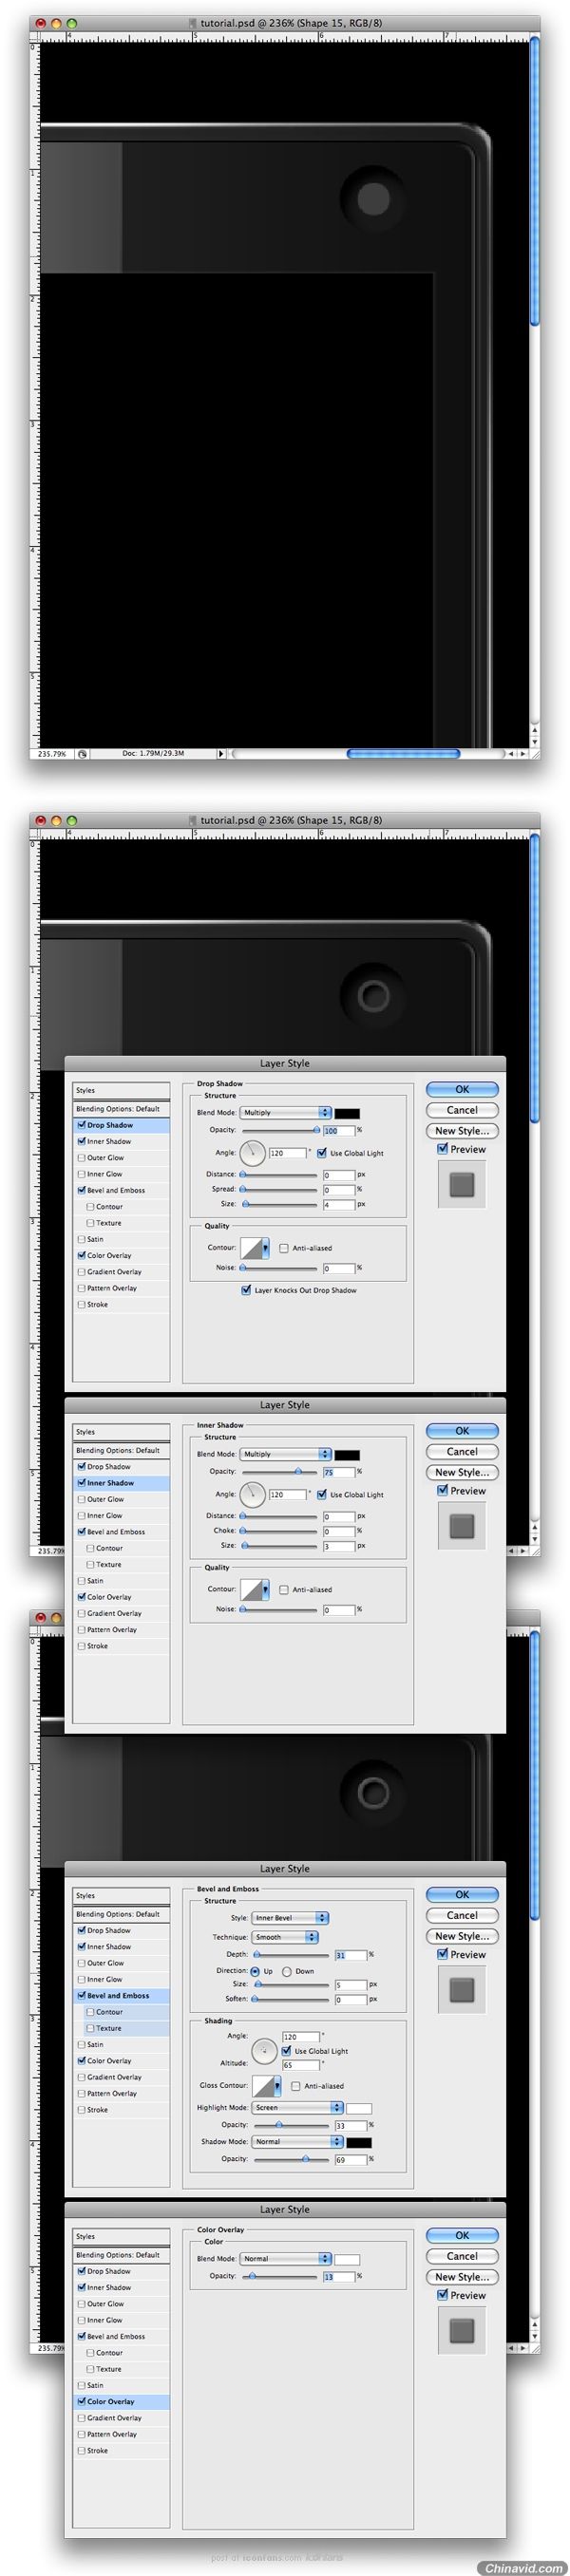
Make another folder over this one and name it "camera." Make a new round circle and fill it with #111111. Next apply the settings below.
创建另一个图层夹(我想作者老兄喜欢把图层叫做文件夹.. 我晕.)并命名为"Camera", 创建一个新的圆形并以#111111填充, 并应用如下的设置。
Step 37
Duplicate the layer, fill it with #222222, and use the settings below for the Blending Options. Also, set the Fill to 0%.
复制该层, 填充为#222222, 并使用如下的混合设置, 并将填充(透明度下面那个)设置为0%.
Step 38
Make a new circle and fill it to #222222. Also, for the Blending Options apply the settings shown below.
创建一个新圆并填充为#222222, 应用如下的设置.
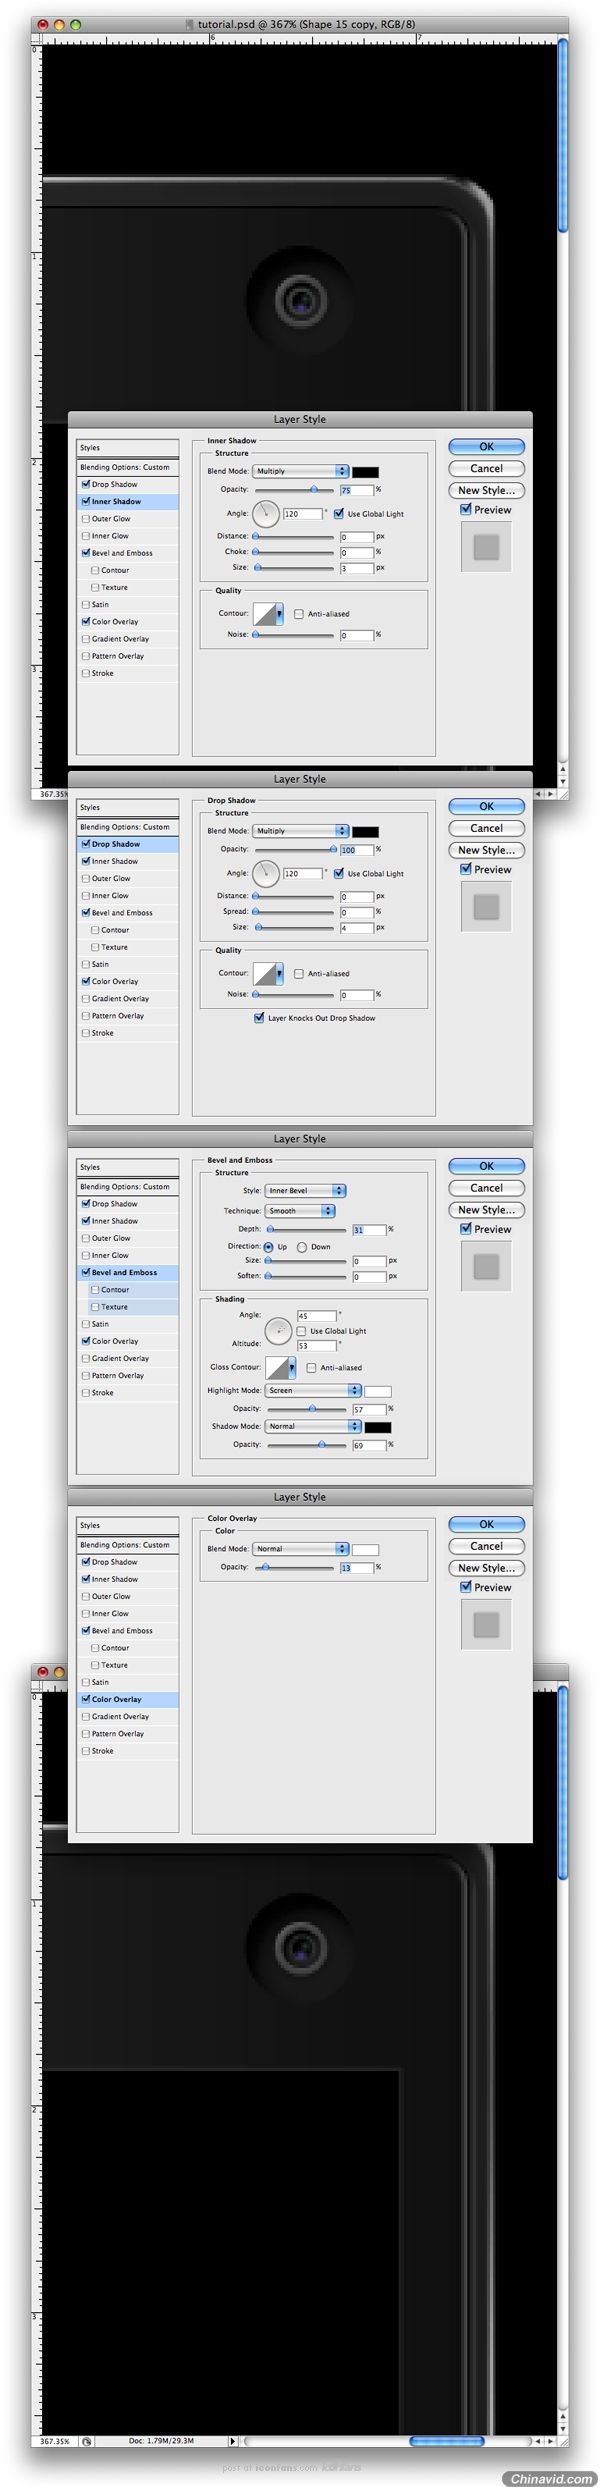
Step 39
Again, make another circle and fill it with #3b3b39. Now you need to subtract some of that circle. Use the Elliptical Tool (U) for this. Also, use the settings below for the Blending Options.
再次创建另一个新圆形, 并填充为#3b3b39, 现在你需要使用椭圆工具将圆减去一些, 另外, 应用如下的混合设置.
Step 40
Next you need to make another circle. This time fill it with black.
下一步你需要创建另一个圆, 这次填充它为黑色.

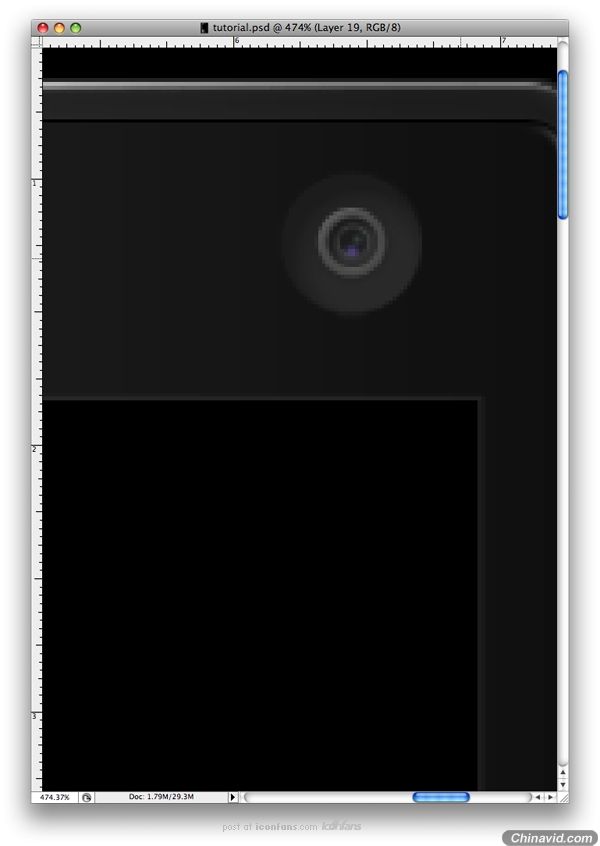
Step 41
Make a new layer over the black circle from Step 40. Using the Brush Tool we
will make two little spots to make this camera look real. You need to use two
different colors for this: #47307a and #1a3327.
在第40步的黑圆上创建一个新图层, 我们将使用笔刷工具创建两个小圆点以让它看起来像真的摄像头一样, 你需要使用两个不同的颜色: #47307a, #1a3327.
Step 42
Repeat Step 39, but this time make a smaller circle. Also, use the color
#3b3b39. Set the layer to 40% Opacity and use the settings below for the
Blending Options.
重复第39步, 不过这次创建一个小一些的圆, 另外颜色也要用#3b3b39, 设置图层透明度为40%, 并使用如下的图层样式.
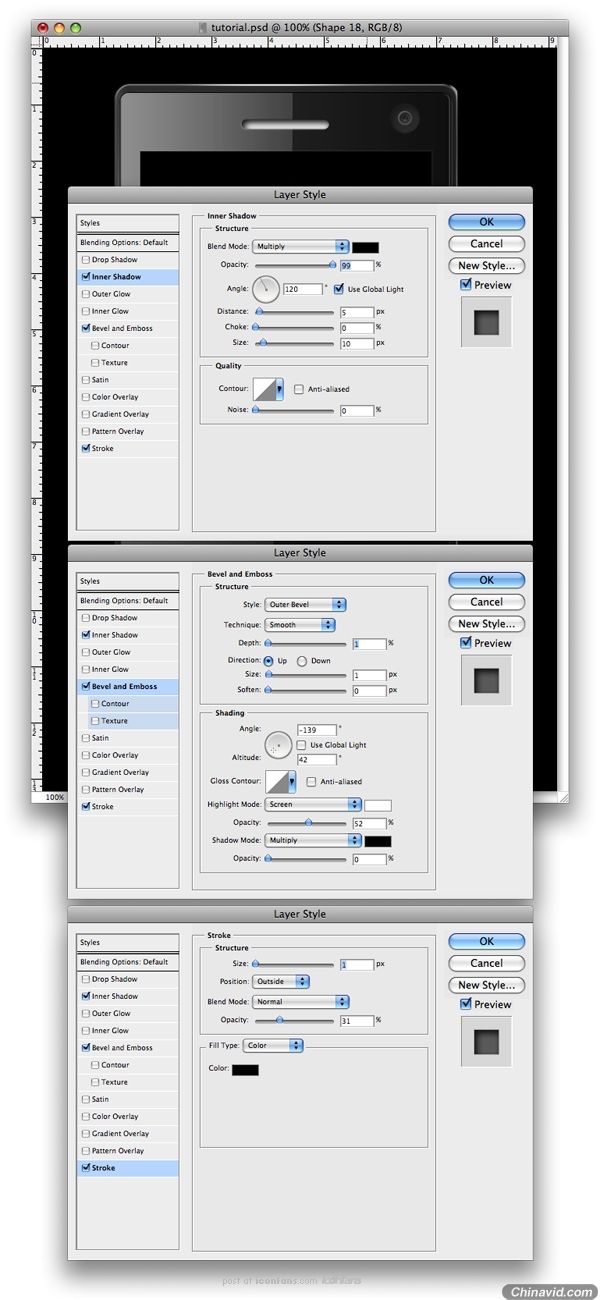
Step 43
Next make another white layer that you'll Blur and change the Opacity to 5%.
这步创建另一个白色图层, 并模糊它, 再将它的透明度设置为5%.
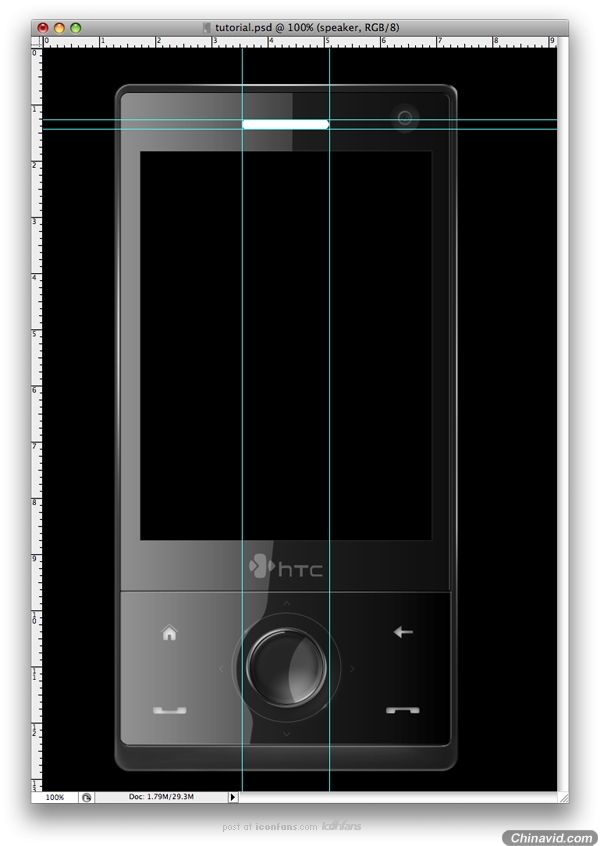
Step 44
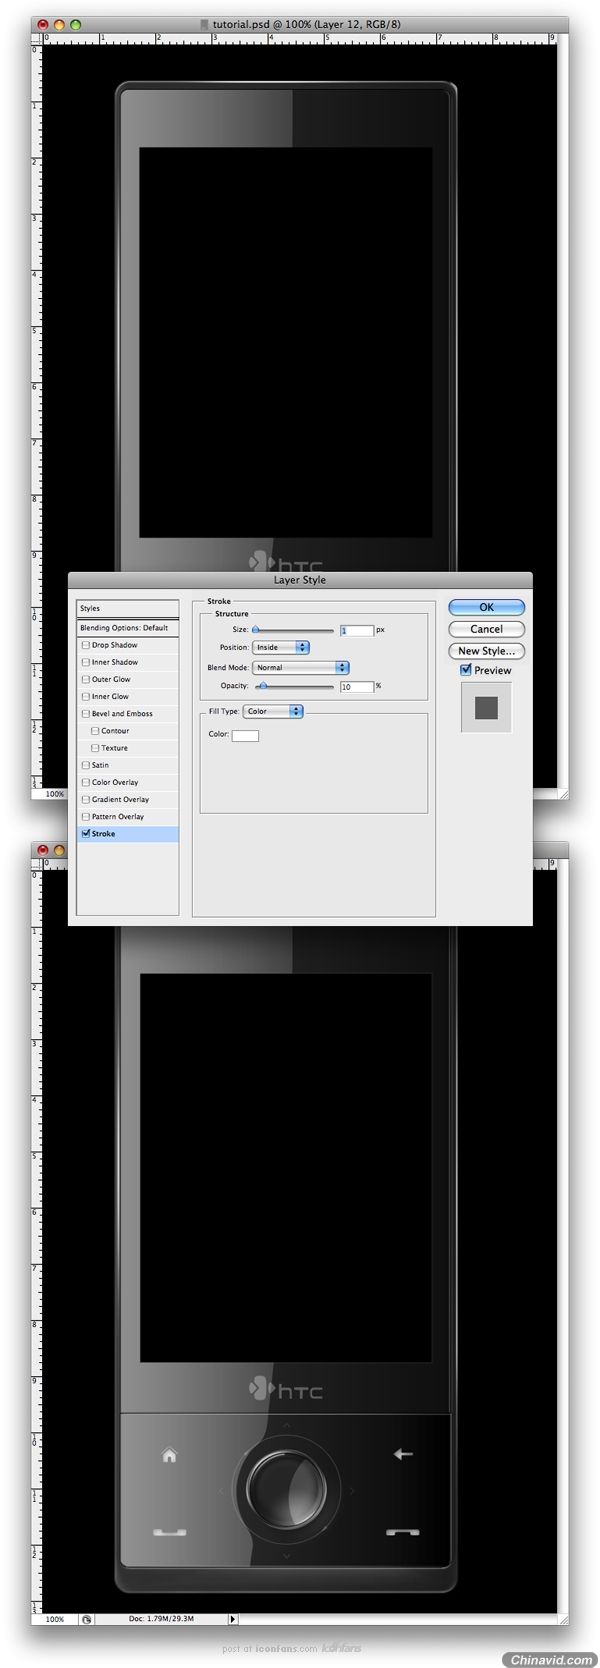
Make another folder and name it "speaker." In here create a new shape using the Rounded Rectangle Tool (U). Make sure it's set to 10 pixels.
创建另一个图层夹(又来了)并命名为"Speaker". 在这里使用圆角矩形工具(U)创建一个新形状. 圆角大小为10px.
Step 45
Insert the Blending Options shown below into the layer.
插入如下的图层样式给该图层.
Step 46
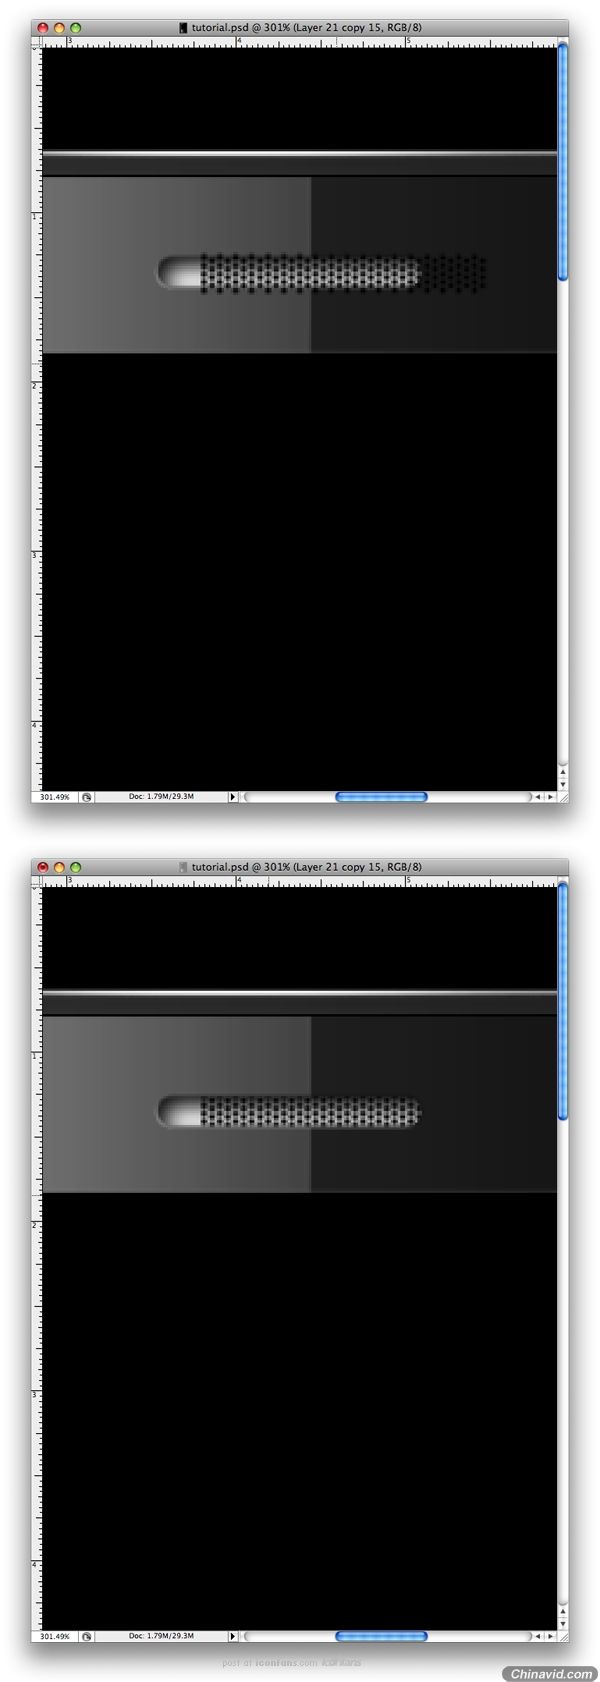
Create a new layer and name it "pattern." To make the speaker pattern I have used the same technique Fabio used in one of his tutorials Creating a Cool Brushed Metal Surface in Photoshop (it's from Step 3 of that tutorial). The only difference between this pattern and the one from that tutoiral is that this one is black and also the dots are closer together. Do not use the Blending Options from that tutorial though, as you'll not need it.
Once the pattern is created, mask it so that it will be visible only on the speaker.
创建一个新图层并命名为"Pattern", 我使用了一个Fabio在他的一个教程《在PHOTOSHOP中创建一个磨砂金属表面》中使用过的同样的一个技术来创建喇叭的图案(在那个教程的第三步), 唯一这个图案和他的教程中的不同的是这个是黑的并且点与点之间更近. 不要通过那个教程使用图层样式, 因为你不需要.
Step 47
Next make a shape similar to those shown below. Use the settings shown for the Blending Options as well.
创建如下所示类似的形状, 也一样的, 使用如下的图层样式.
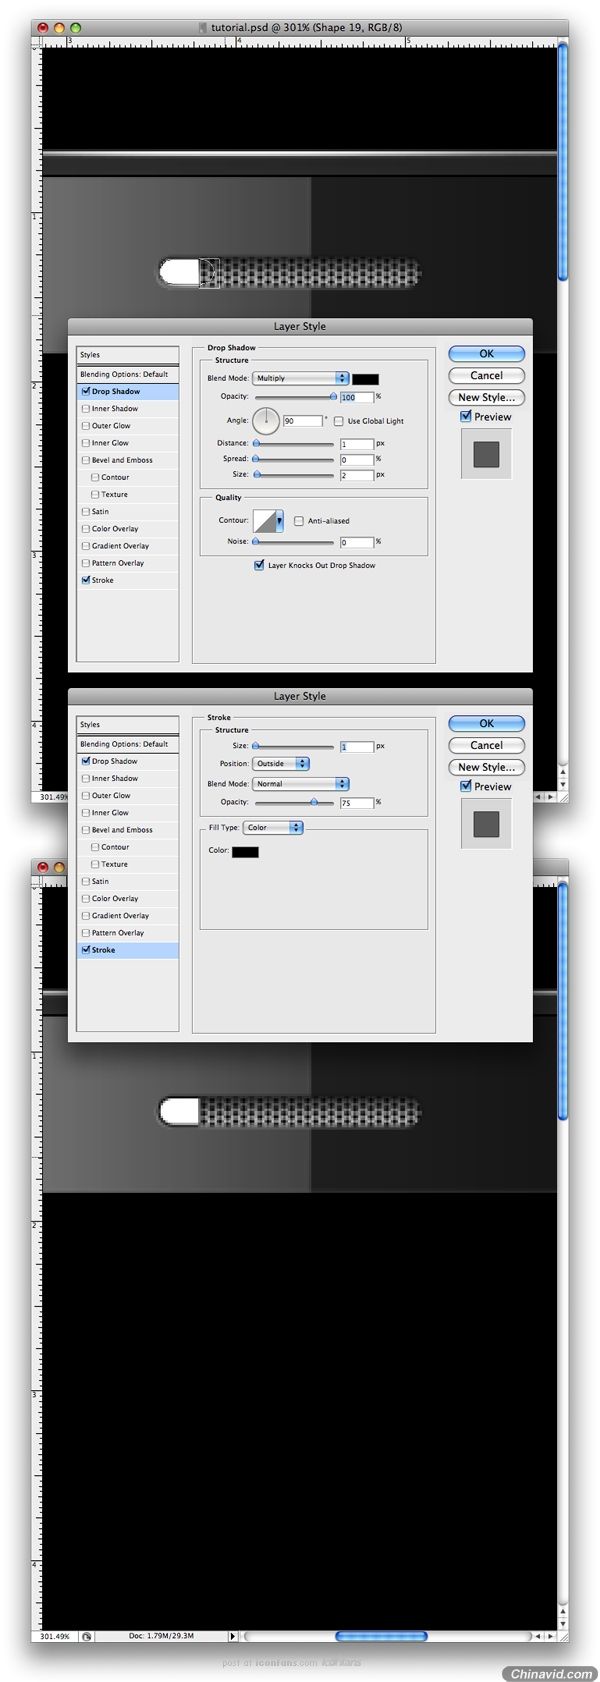
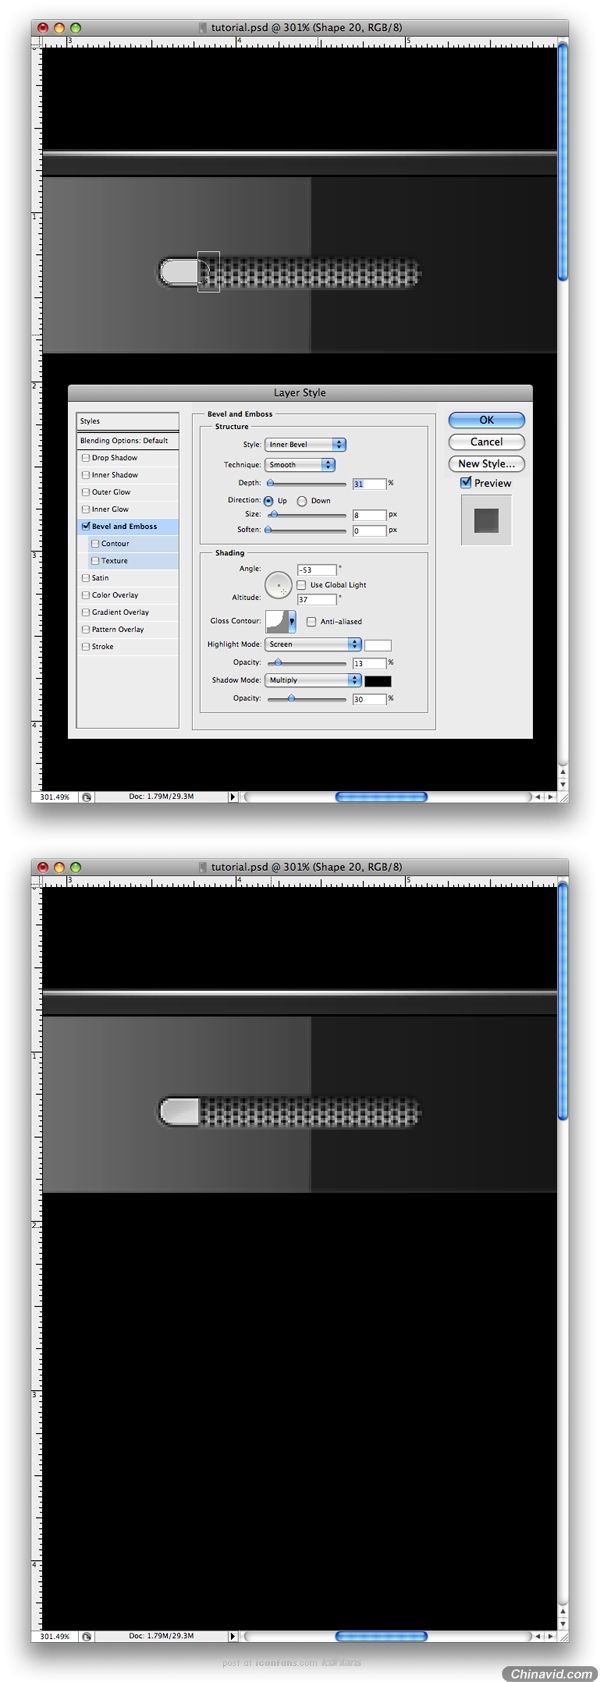
Step 48
Make a new layer similar to the other one, but this one will be a little smaller. Fill it with this color #d7d7d7. Also, use the settings below for the Blending Options.
创建一个类似的另一个新图层, 不过这个将会小一点, 填充它为#d7d7d7. 另使用如下的图层样式.
Step 49
The mobile is almost finished. What we'll do now is make a nice texture. Make a new layer and name it "Noise." Within this layer, make a new layer and fill it with white. Go to Filter > Noise > Add Noise and use the settings shown below. Also, set the image to Multiply with a 20% Opacity.
In the end, you'll need to make a selection of only the exterior part of the phone and mask the noise. This is so it will be visible only on this part.
电话已差不多被完成了. 现在我们要做的是创造一个漂亮的材质, 创建一个新图层, 命名为"Noise". 在这层里面(这里我觉得应该是图层夹), 创建一个新图层, 并填充为白色, 应用滤镜 > 杂色 > 添加杂色并使用如下的图层样式, 另设置图层混合模式为叠加(Multiply我不知道是不是叠加-_-#), 并设置透明度为20%.
最后, 你需要创建一个只有电话外部的选区并遮住杂点(就是做好选区然后加个蒙板), 那么它将只显示该部分.

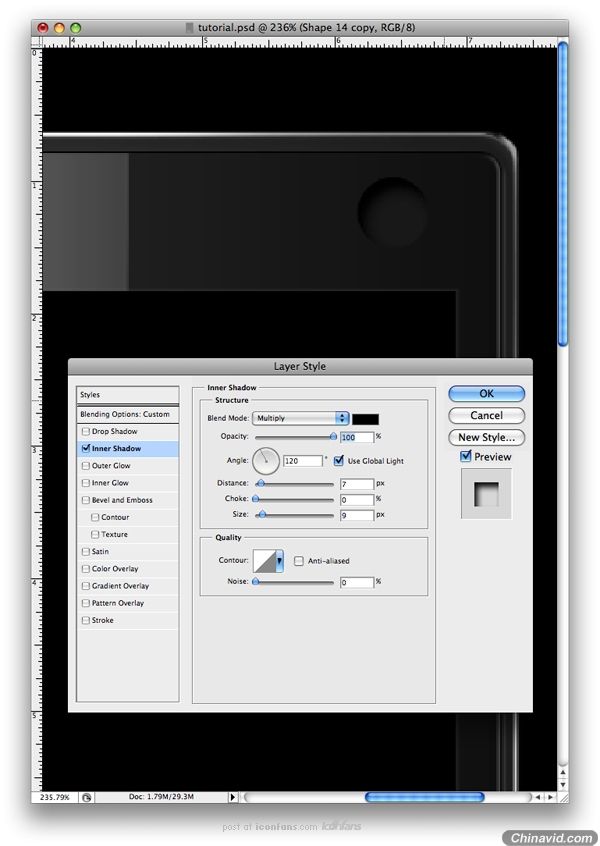
Step 50
Repeat Step 49, but this time you'll make it for a different part of the phone. Follow the images below to understand how to make the selection.
重复第49步, 不过这次你要创建电话的另一部分, 跟着如下的图片做, 以明白该创建什么选区.

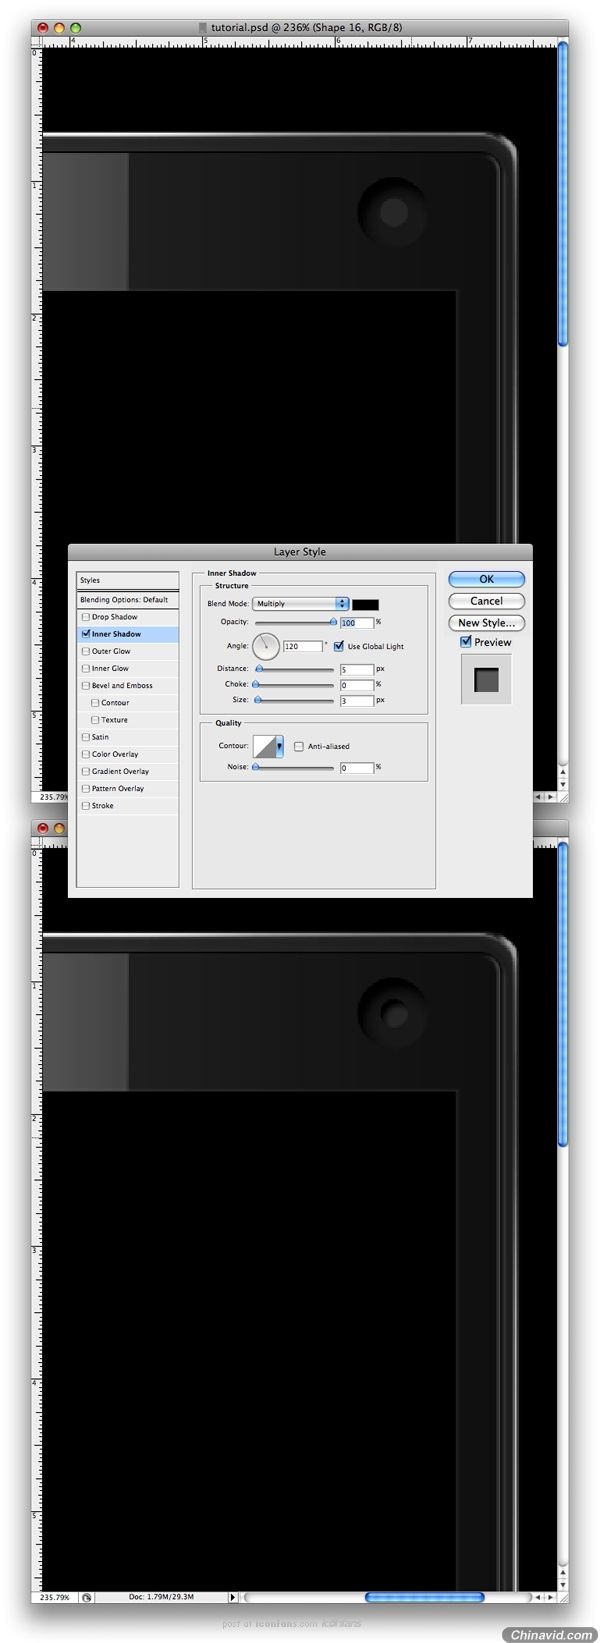
Step 51
The last step is all about adding some more lights on the phone. Follow the images below and you'll understand. For the next shapes change the Opacity to 10% and lower.
这最后一步所有的都是关于在电话上增加一些光, 如下图片你会明白怎么做, 把下一个形状的透明度改为10%或更低.(这句我不知道他想说什么...).

Finishing the Phone
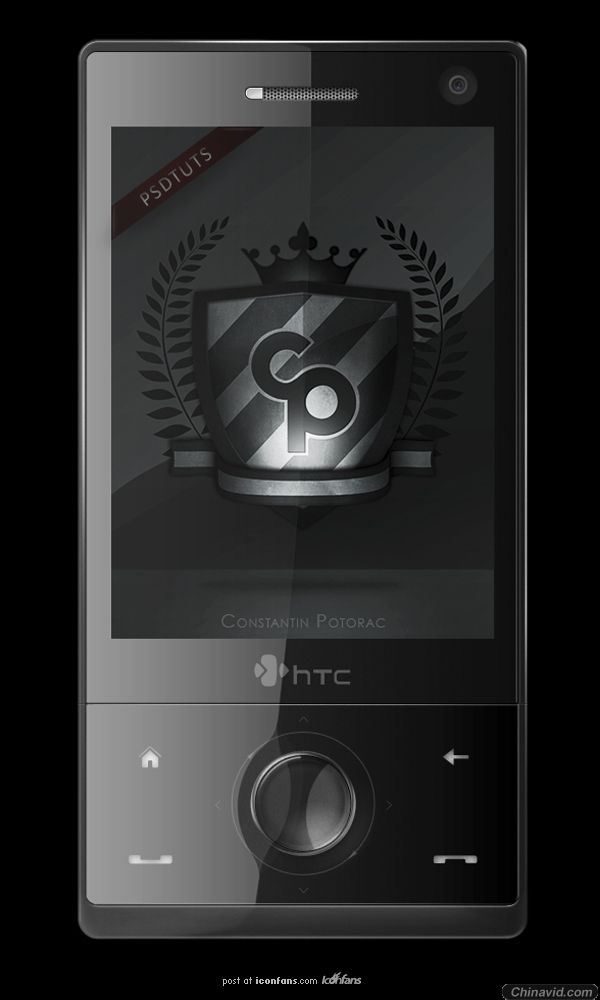
Add some personal branding to the phone. I added my logo and a small PSDTUTS banner.
在电话上增加一些个人标志, 我增加了我的LOGO和一个小的PSDTUTS横标.
Step 52
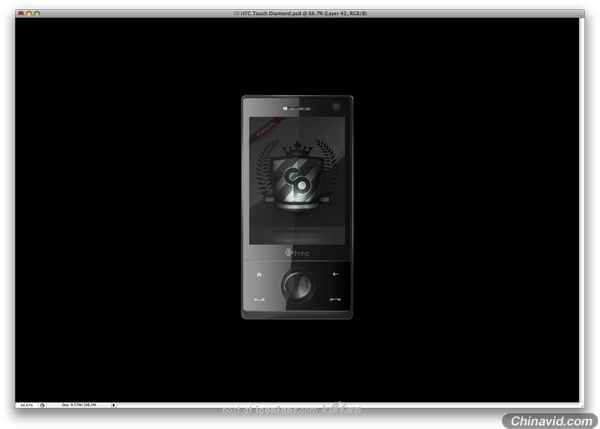
Now that we have finished the mobile phone we need to make a nice and attractive background. This part will be all about making a great advertisement for the product.
First you'll need to move your phone to a bigger document (My size is 2215x1510) and fill the document with black.
现在我们完成了电话, 我们需要创建一个吸引人的漂亮背景, 这步分全部是关于创建一个棒的产品广告.
首先我们需要移动你的电话到一个大的画布(我的尺寸是2215x1510), 并填充文档背景为黑色.
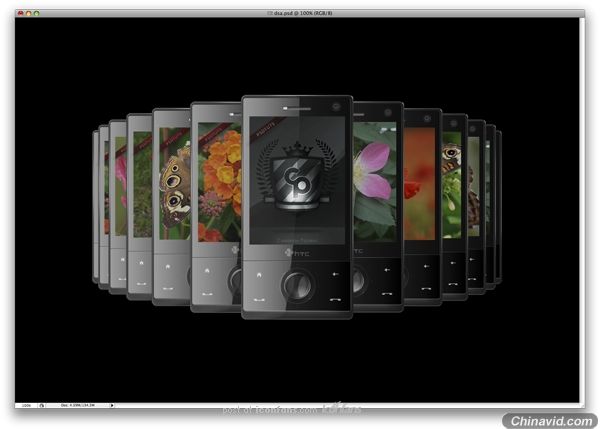
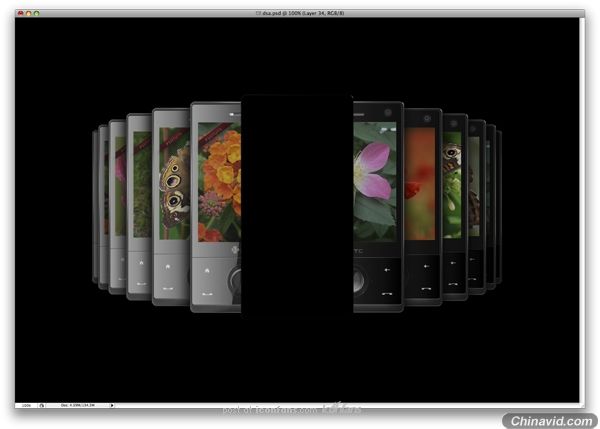
Step 53
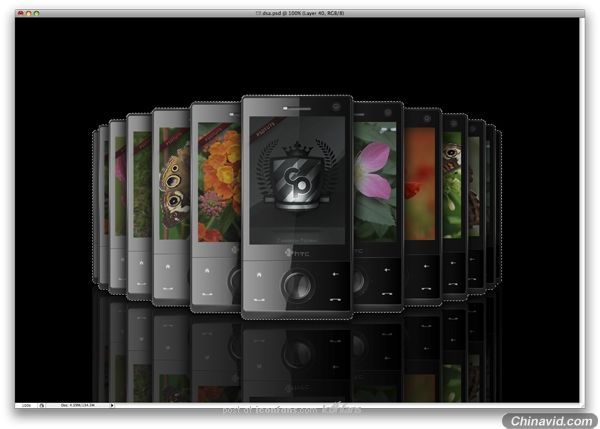
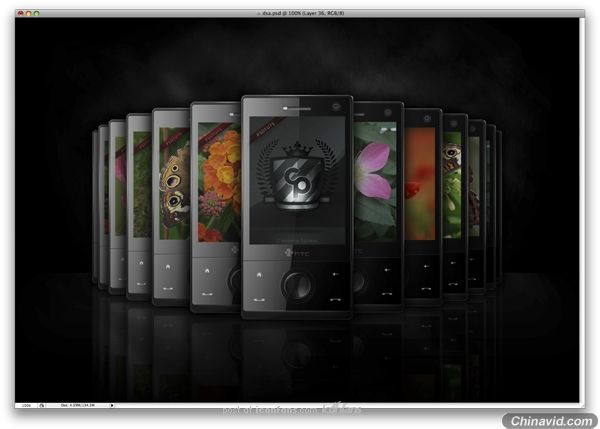
Next we duplicate this phone twelve times and arrange them one behind each other. Also, keep in mind that as the objects are further away they get smaller. This is the rule of perspective that you need to keep in mind. Also, as you can see I have changed the image inside each phone. I found the images over at SXC.
复制这个电话12次, 并排列它们一个一个相互在后面, 另, 请紧记物体越深层它们便越小, 这是你必须紧记的透视规则, 如你所见的我改变了下面图片中的每个电话, 我在SXC上找到了这些图片(他说的应该是屏幕上的装饰图片).
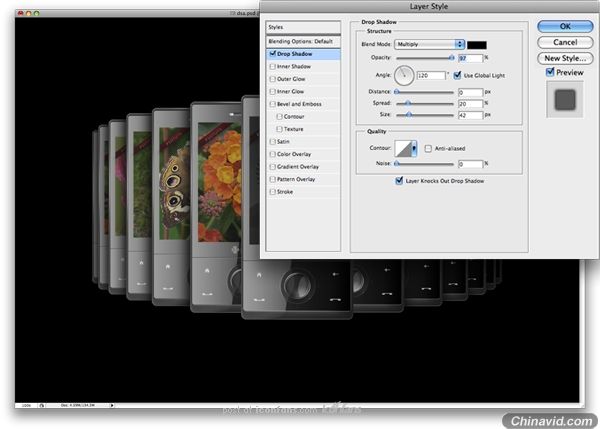
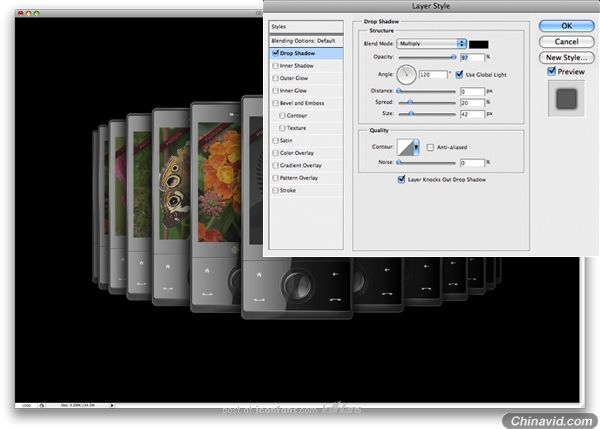
Step 54
For all the phones you just created, you need to add a shadow. Use the settings below for the Blending Options.
给你刚创建的所有电话增加投影, 使用如下的图层样式.
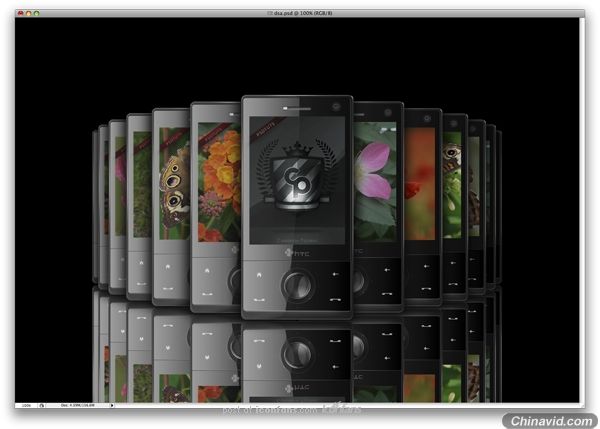
Step 55
Now you need to add a shadow for the first phone too. Let's use a different technique. Make a black shape that is similar to the phone.
现在你需要给第一个电话增加投影, 让我们使用一个不同的技术! 创建一个和电话形状类似的黑色形状.
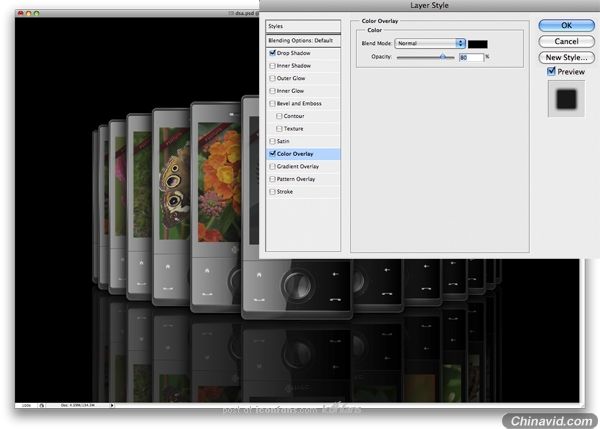
Step 56
Move the shape in the back of the phone. You do this by moving the layer you just created beneath the "phone" layer. Into the Blending Options you need to use the settings shown below.
移动这个你刚创建的图层到电话图层之后, 并使用如下图层样式.
Step 57
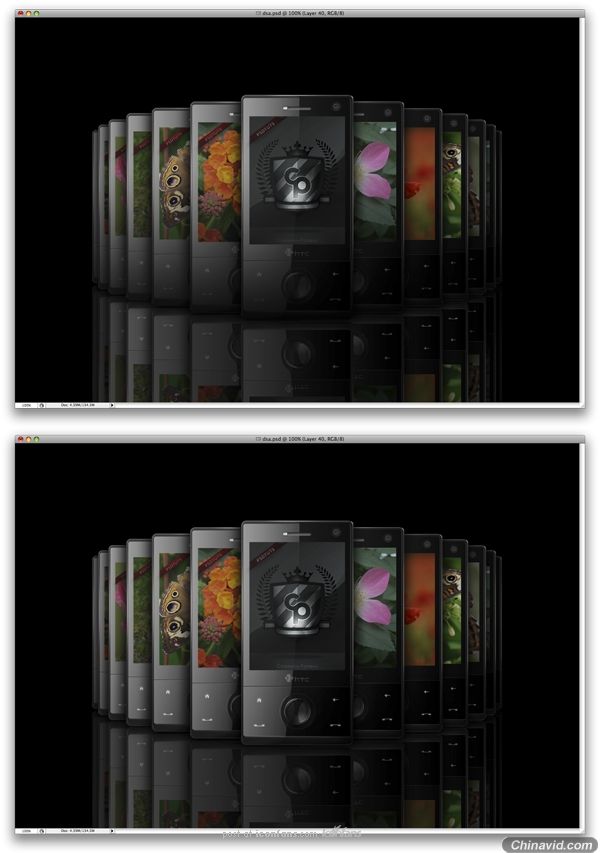
Next we'll make the reflection for each phone. You do this by first duplicating all the phones and moving them upside down.
这步我们将给每个电话创建倒影: 复制所有电话移动并垂直翻转.
Step 58
Now don't simply set them all to a low Opacity. In this case you need to change some settings in the Blending Options. The thing is that each reflection will have different settings.
Set the Color Overlay to black on all of them. Next you need to lower the Opacity for each one. You will start with the two smallest phones (80%). Then continue with the rest of them 70%, 60%, and make the rest 50%.
现在不仅仅只是为它们设置一个低的透明度, 在这情况下你需要在图层样式里改变一些设置, 也就是每个倒影都有不同的设置.
为所有电话设置"颜色叠加"为黑色, 下一步你需要给每个电话降低透明度, 你会从最小的两个电话(80%)开始, 然后继续为剩下的设置为70%, 60%, 和设置剩下的其它为50%.
Step 59
Make a new layer on top of all the other layers. Make a selection as I did by Ctrl + Clicking on each phone's thumbnail.
在其它所有图层上面创建一个新图层, 和我用CTRL+在每个电话的略缩图上点击一样创建一个选区(我想你掉了SHIFT吧...把SHIFT也按住!!).
Step 60
Now using the Gradient Tool set it to black and transparent. Then make a nice gradient. Also, set the gradient to Soft Light.
现在使用渐变工具设置它从黑色到透明, 然后创建一个漂亮的渐变(是从下到上拉渐变), 另, 设置这个渐变为柔光.
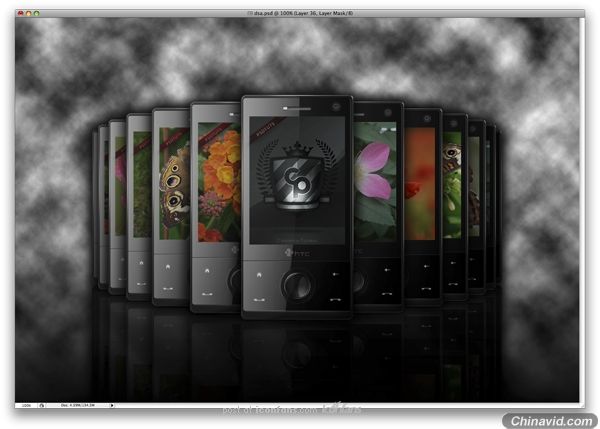
Step 61
Next you need to make a new layer and place it between the phones and the reflections. Go to Filter > Render > Clouds.
这步你需要创建一个新的图层并把它放到电话层和倒影层之间, 应用滤镜 > 渲染 > 云彩.
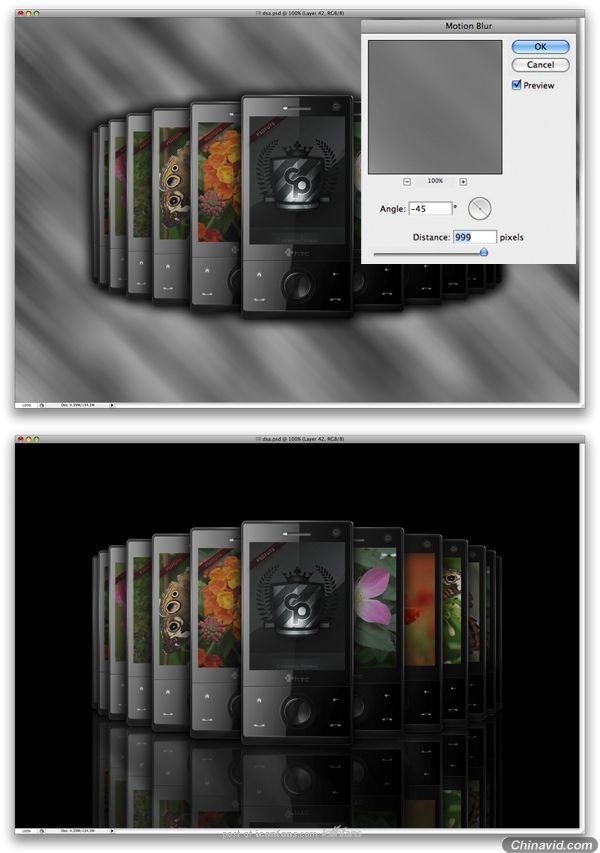
Step 62
Next go to Filter > Blur > Motion Blur and use the settings shown below. Then set the layer to Soft Light. You'll be able to see a nice effect over the reflections. This makes the surface look shiny.
应用滤镜 > 模糊 > 动感模糊并应用如下设置, 然后设置图层为柔光, 你将会看到一个漂亮的效果在倒影层上. 这让表面显得有光泽.
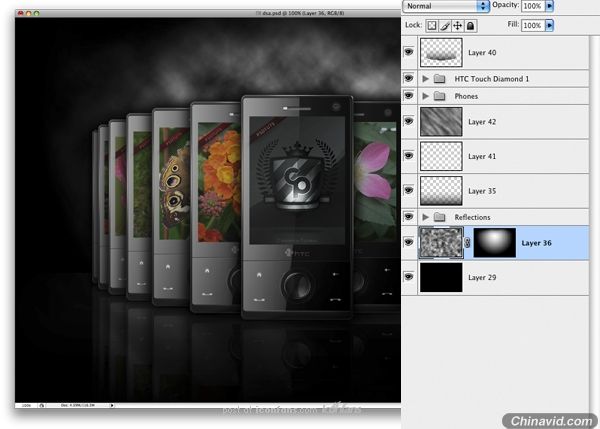
Step 63
Make a new layer over the one we just worked on. While using the Gradient Tool, again set it to black. In this step, we'll simply hide some of the reflections with the gradient.
在我们刚刚制作的图层上创建一个新图层, 使用渐变工具, 再次设置它为黑色, 在这步, 我们仅仅用渐变隐藏倒影的一部分(这步也就是把倒影拉个渐变搞个消失).
Step 64
Make a new layer and move it to the back, but over the black background, and name it "Clouds." Again, you need to some clouds. Go to Filter > Render > Clouds to apply them.
创建一个新图层并移动它到后面, 但在黑背景的上面, 并命名为"Clouds". 你需要再加点云, 应用滤镜 > 渲染 > 云彩.
Step 65
Add a Layer Mask to this layer by simply clicking the Layer Mask button in the Layers Palette. Fill the mask with black. Then using the Gradient Tool, set it as white to transparent and Radial. Remember, you need to let some of the clouds show through.
通过点击图层面板的蒙板增加一个蒙板并遮照该层, 填充蒙板为黑色, 然后使用渐变工具, 设置渐变为径向渐变白色到透明, 请记得, 你需要让一些云穿过来可见.
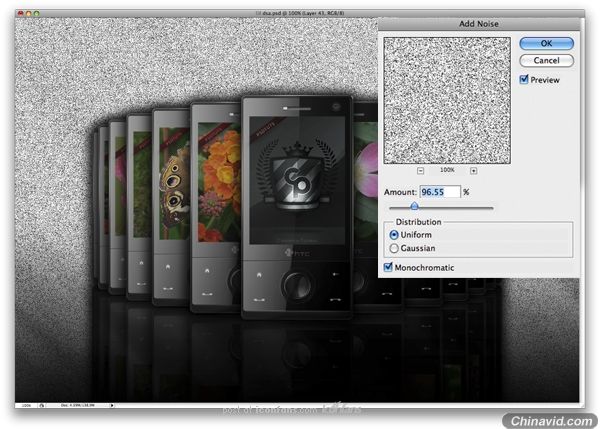
Step 66
The last step is to make a new layer over these clouds and fill it with white. Go to Filter > Noise > Add noise.
最后一步是在这些云上创建一个新图层并填充为白色, 应用滤镜 > 杂色 > 添加杂色.
Step 67
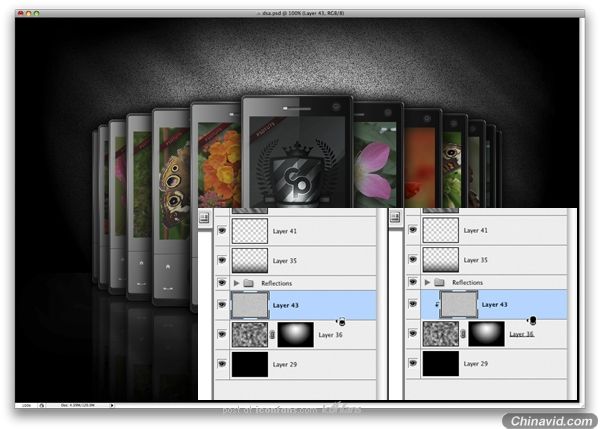
Here is an important step that most of you might not know. Place your mouse between the "clouds" and this "noise" layer. If you press the Alt button while the mouse is between two layers, you'll see the mouse changing. While holding the Alt button, simply Click once with the mouse. This technique is similar with the masking, but it will mask the noise to show only over the layer you just linked it to.
最后一步是在这些云上创建一个新图层并填充为白色, 应用滤镜 > 杂色 > 添加杂色.
Step 68
Set the Noise layer Opacity to 51% and Multiply.
设置"Noise"层透明度为51%, 混合模式为叠加(Multiply应该是叠加).
Step 69
Set the Clouds layer to 30% Opacity.
设置"Clouds"层透明度为30%.
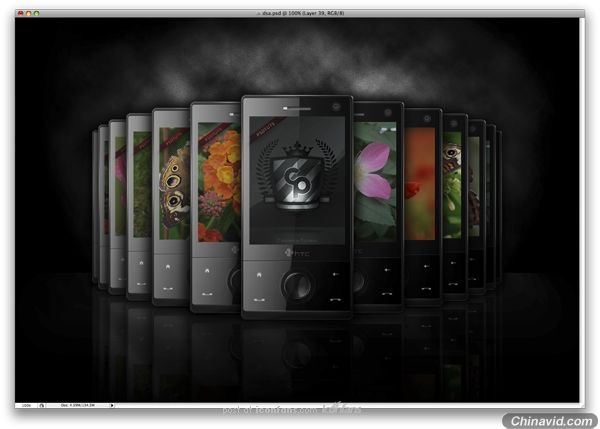
Final
When you are finished with the design just save a JPG and play with the Levels, Colors, and maybe add more effects to it depending to your taste. I hope you learned something from this tutorial.
当你完成设计, 可保存为JPG并调整Levels(不知道怎么翻这个Levels), 颜色, 或增加更多的效果, 这取决于你的口味. 希望你能从本教程中学到一些东西.

|
